

I don't purport to be anything but an amateur when it comes to photography and Photo Shop Elements. But the derivation of amateur is the verb amare, which is "to love". And I love creating on PSE.
This is my method for making a texture.
First of all, you need to download some good brushes to use on your texture. There are a number of resources but one of my favorites is: http://www.deviantart.com/
In the search box, type in something like "cloud brushes" or "grunge brushes". There are just so many to choose from, so pick a few and let's get started.
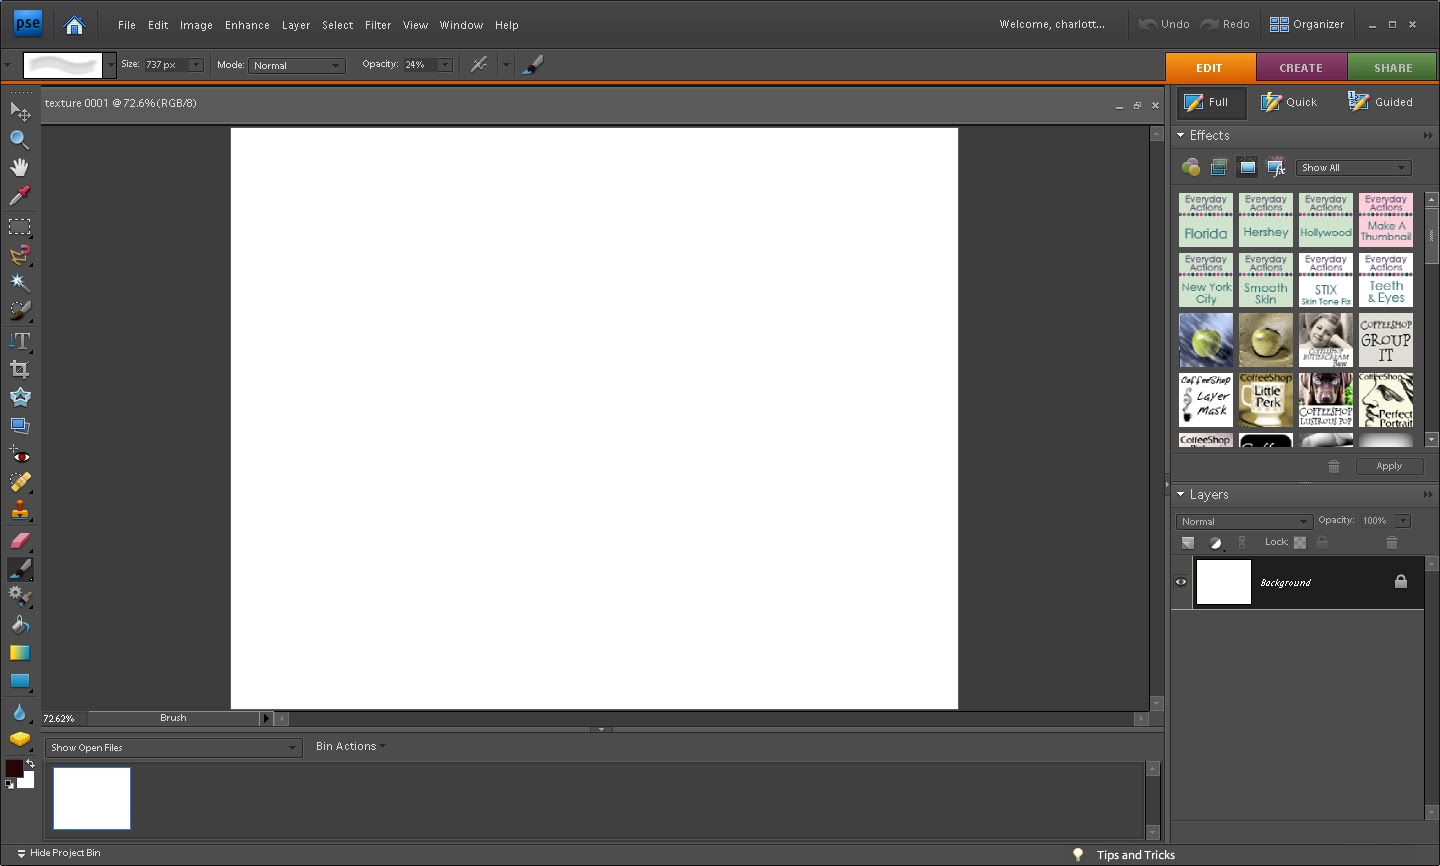
Open up PSE and file>new>blank file. Change the size to inches>10inches wide X 8 inches high. Resolution: 100 pixels, and choose RGB color. Then click okay. Your screen will look like this:
Under "edit" pull down menu >fill layer>click on the foreground color box to bring up the color picker. I like to choose a medium saturated neutral color. This one's code is #2c0909 but you can choose what you like. Be sure to put a number in for the "opacity". I am choosing 50%.

Click Okay. Here it is:

Now here comes the creative part. Go to your brushes and choose one to start with. I am choosing a grunge border brush by ro_stock. I started by putting a corner brush, where else, in the corner. :o)

The next brush I choose from the same set from ro_stock ( I think I got them on deviant art) and increase the size (short cut-use the bracket keys, next to the "p" and the left one makes your brush smaller and the right one makes it bigger. I am making mine to fit the width of the bottom of my "picture" :

My next brush stroke will be a little different because the orientation is not what I want. But we can fix that. On your layers palette, click on the "Create a new layer" icon. Now choose your brush and click it onto the middle of the picture like so:

Now click on the move tool and grab one of the corners. If you move your mouse around, you will see a circle of arrows, click on that to turn your brush. When you have your brush positioned where you want it, (by moving the middle circle), you can resize by pulling on either end to fit your picture. Then check the green check mark.

If you would like to add some text, now is the time to do it. Choose a nice font that you like and create a new layer. Type a word or phrase anywhere on your layer and then click on the move tool. This allows you to not only move it around on your layer, but also to stretch it and make it bigger or taller.

I added a couple more words using the same method and then decided to add a cool feather brush that I found on deviant art. Here is my final product:
 |
| Final Texture I hope that this is clear for you to follow along. Please email me if you need assistance: charlotteinkennesaw@gmail.com or just leave a comment. Blessings to you all! |


3 comments:
Oh goody Charlotte. Can't wait to try making my own texture!
This is great, Charlotte~~thanks! I need to try that :~)
thanks for the encouragement! ♥
Post a Comment