

http://artisticexpressionsphotographync.blogspot.com/, I decide to make some revisions to this tutorial. She had some valid points in making my changes. Thank you, Betty.
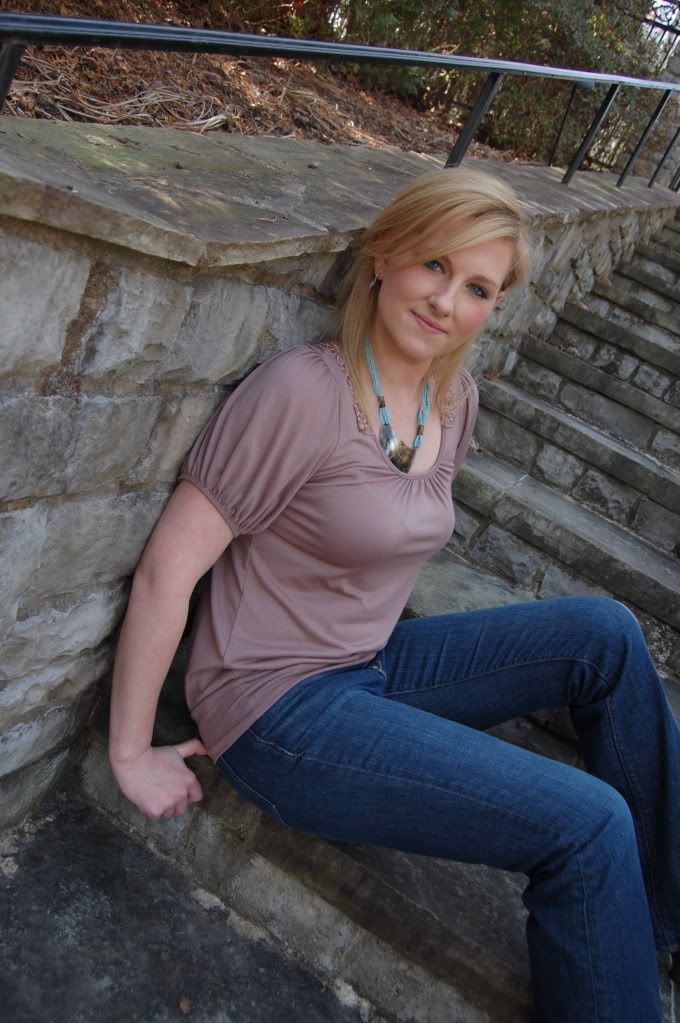
Photography is my passion, but shooting portraits is my absolute favorite thing to do. There is so much you can capture in expressions. As they say, the eyes are the windows to the soul. So here is my approach. It is not for everyone. I have been criticised for processing too much. Although no one is perfect, I like to make them as perfect as I can. Who wants to have the realism of moles and warts? Not me. Anyway, isn't that why "Glamour Shots" is so popular?
I have two programs that I use to edit: Photoshop Elements 7 & 9.
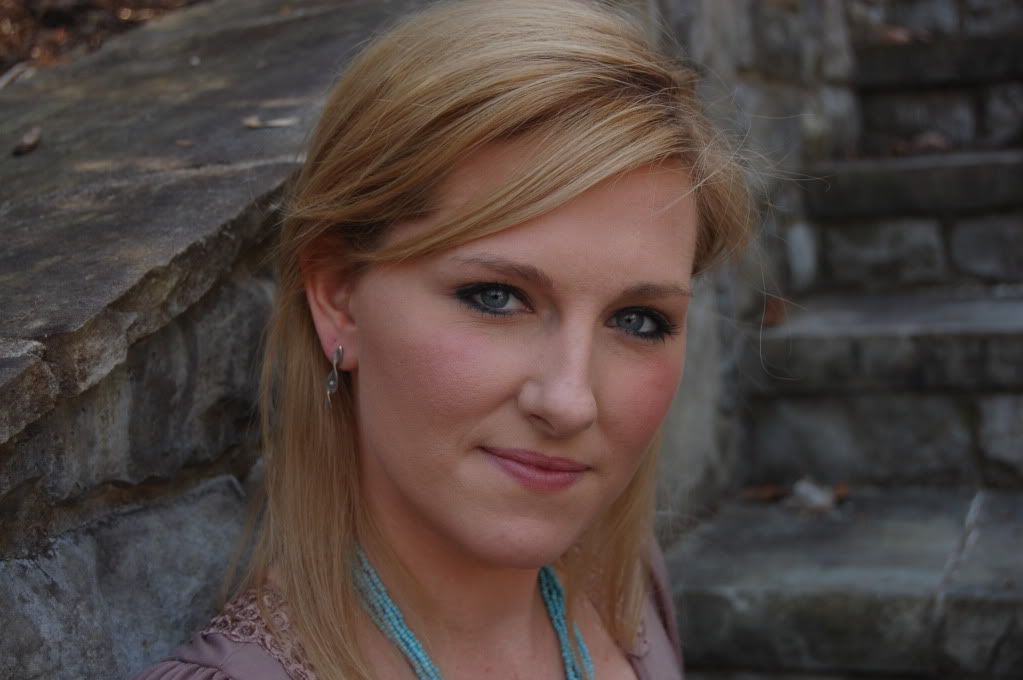
Below I have selected a photo of a friend, SOOC, ( straight out of camera).
The first thing that I do before anything else is to make sure that my exposure is what it is supposed to be. So even if I don't shoot RAW, I can still use the RAW dialog box by this method:
Open your photo ( "Open As"), make sure that the file says "Raw". Then I make sure that the exposure is correct, usually I hit "auto". But there are times when you have to manually tweak it by moving the slider forward or backward until it looks correct to you.

The next thing that I do is to lower the "Clarity". This gives you a head start on making the complexion like porcelain.
There are other uses for opening up the RAW dialog box, but more on that in another post.

Now we are going to have fun! We are going to get those eyes bright and beautiful!
Make a duplicate (Ctrl J) and take the zoom tool and zoom in very close to the eyes. Use the selection brush or any selection tool that you are comfortable with and set the pixels to a size that you are comfortable with.(Short cut: use the bracket keys to enlarge or reduce the size of your brush. Bracket keys are to the right of "P".
After you make your selections it should look like this:


Go to the Filter Menu at the top >"Other">High Pass at 7.1 pixels> hit "Okay". Not to worry about how weird it looks at this point, we will fix it.

Go to the layers palette and click on the down arrow to open up the blending modes>select "Soft Light" or "Hard Light", whatever looks best to you. If the effect is too much for you, you can always reduce the opacity. Flatten.

Most people have a little bit of red veining that takes away from the brightness of the eyes so we are going to fix that right now. Of course, make a duplicate of your background again: "Ctrl J". Take your zoom tool and fill your screen with one eye at a time. Using a soft white brush (shortcut, hit the "B" on your keyboard) and making sure that the tool is a brush and not the "Impressionist brush", set the pixels to about 25, opacity to 100; we will reduce it in a minute.Continue with the other eye. Try not to mess with anything outside the whites. Now zoom back a little so that you can see both eyes. It will look like this:

Before flattening the layers, go to the opacity above the layers palette and reduce it while looking at the eyes, until they look natural but don't show any imperfections. I will reduce mine to about 30%. Here is mine:

This lady has nice teeth, but I can't help whitening them just a touch. So here is what we are going to do: Make a selection around the teeth. This takes a little practise. Take your time. Remember that if you go over into the lip line, use the "alt" key and your selection brush to fix it. Her is how it will look:

Grab a white paint brush and brush all over the teeth. The selection lines will keep it in bounds. I set my opacity at 29%, the same as the eyes. And it looks natural to me.This is what you will get:

"Ctrl D" to get rid of the marching ants. Then flatten.
Next, we are going to give her a "magic facial". Make a duplicate. Go to the filter menu>Blur>Gaussian Blur>12.0 radius. Hit "Okay". It will blur everything and look like this:

Next, you must hold down the "ctrl" key and the "create a new layer" icon and you will come up with a blank layer (looks checkered) between Layer 1 (top) and the background layer (bottom).
If at any time, you make a mistake, just go up to the "undo" key at the top of your page and start from that point.

Now, making sure that you have the top layer selected (Layer 1), hit "ctrl G". If you do this correctly (It took me a long time to get this right), your top layer should jump to the right a bit....like this:
 |
| Notice how she is in focus again. Now you are going to make the middle layer active by clicking on it (you can see that it is highlighted by a dark line around it). Grab a soft black brush, zoom into the face and start brushing carefully all the skin on the face, neck and sometimes arms. Do not touch the eyes, nostrils or the mouth, teeth, etc. You want those to be clear. You will notice that while you are brushing away, that the checkered layer will get black, revealing the Gaussian blur layer and thus, softening the skin. Here is mine, partially done:  Now continue on all over the face, neck, chest and sometimes, the arms. Many people have sun damage that takes away from a perfect look and this Gaussian blur takes it away. I wish I had some in my make-up drawer. Here is the finish of my brushing:  But, we are not finished yet. We need to back down the opacity so that we don't have a completely plastic look. We want her to look really good, not fake. I find that 63% works for me:  I am pleased with the processing thus far but this is when I will finalize by cropping and flattening:  Our final step will be to sharpen our photo, something I often forget to do. So you duplicate your photo, (ctrl J). Go to Filter>Other>High Pass>set radius to 2.8>click "okay". It will look weird like this:  Go to the blending modes above your palette and choose "soft light". You can click on the "eyeball" to see the before and after of the high pass sharpening. It is very slight. This is the final result:  |
 |
| Before |
 |
| After There you have it. I think I remembered everything. Hope you have fun with this tutorial. Once you get a little practice, it goes fast. This is what I do to clean up a portrait. When you have finished, you may want to add a texture or a special action to "jazz it up" even more. Cheers! |


3 comments:
Great tutorial, Charlotte; thanks for sharing your process. Your incredibly beautiful model SOOC absolutely shines in your edit.
thanks, Betty! You are my number 1 fan! Oh, you are my only fan. LOL
I just noticed you had this blog, OH MY GOODNESS you are a pro with the PSE... You sure have the eye for this.
Great work and photography.
Post a Comment