


Now, we are going to choose an action. In this picture I am choosing Pioneer Woman's "Boost".
Here is how the photo looks so far:

Next, let's try a texture. I am using one from the Supernatural collection by Patty Brown, called Gothic Glow. My method is to use a free action to do this: called "Texture Applicator" by MCP.
I chose the Vivid Light" layer set at 24%, then with a soft black brush @100%, 170 pixels, I removed some of the texure from the wreath. Then flatten the layers.

We are not finished yet. Here we will add another texture from Patty Brown, called "Paranormal Glow", with Multiply @ 24%. Flatten the layers.


Of course, you know the drill by now: flatten your layers.
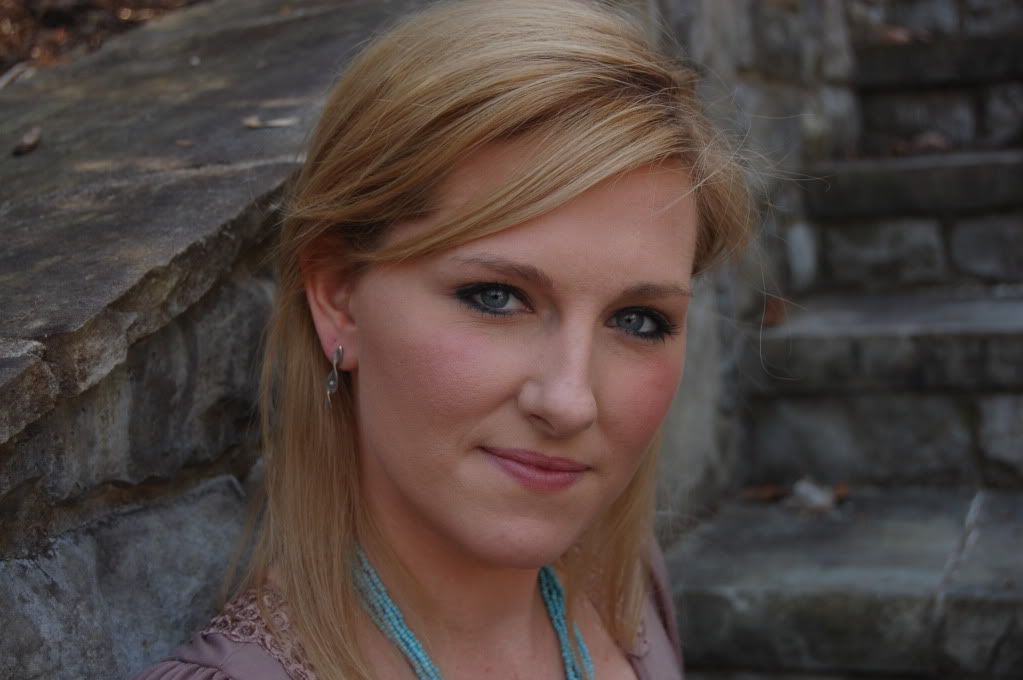
Here is the before, SOOC:


1 comments:
Great tutorial Charlotte! It's amazing how a little action and a little texture makes an image's tone so rich.
Looking forward to your next tutorial!
Post a Comment